
Chapter 3
The collar and its gaskets
Two TPU gaskets keep dust out of the wheel where the collar meets it. They are arcs, not rings - the collar is an arc of 130° and so are they - and they are held in their grooves by small buttons that click into sockets. This is bench work: the collar does not go near the wheel until chapter 10.
What you need
Parts
- 1×front gasketprinted, TPU 87A-95A
- 1×rear gasketprinted, TPU 87A-95A
Tools
- your hands - nothing else
Step 1 The gasket on the camera side
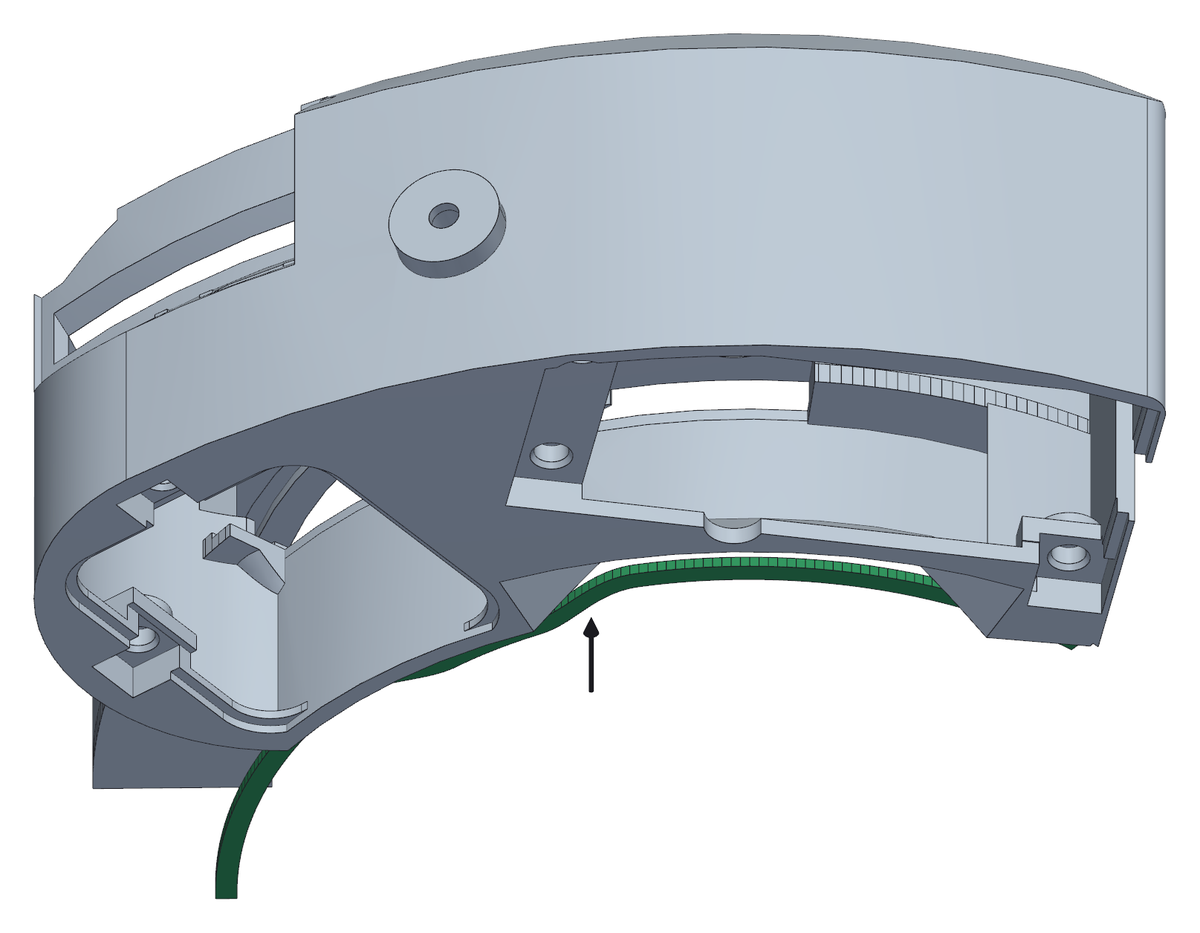
- Start at one end and press the gasket into the groove, working along it. The buttons underneath click into their sockets as you go: that is what holds it while you handle the collar.
- The lip faces out of the groove. The groove is 3.0 mm wide and 1.5 mm deep, the gasket is 2.8 mm wide, so it goes in without stretching - if you are stretching it, it is the wrong way round.
- When it is home, 0.5 mm of lip stand proud of the face. That half millimetre is the squash: it is what seals when the wheel body is finally pushed on.
- The gaskets are TPU; their squash is calculated for 95A, and a softer one seals with less force. If you printed them separately they came off the plate flat, lip up; if you have a multi-material printer you can print them straight onto the collar instead, and then there is nothing to fit here.
Step 2 And the one on the telescope side
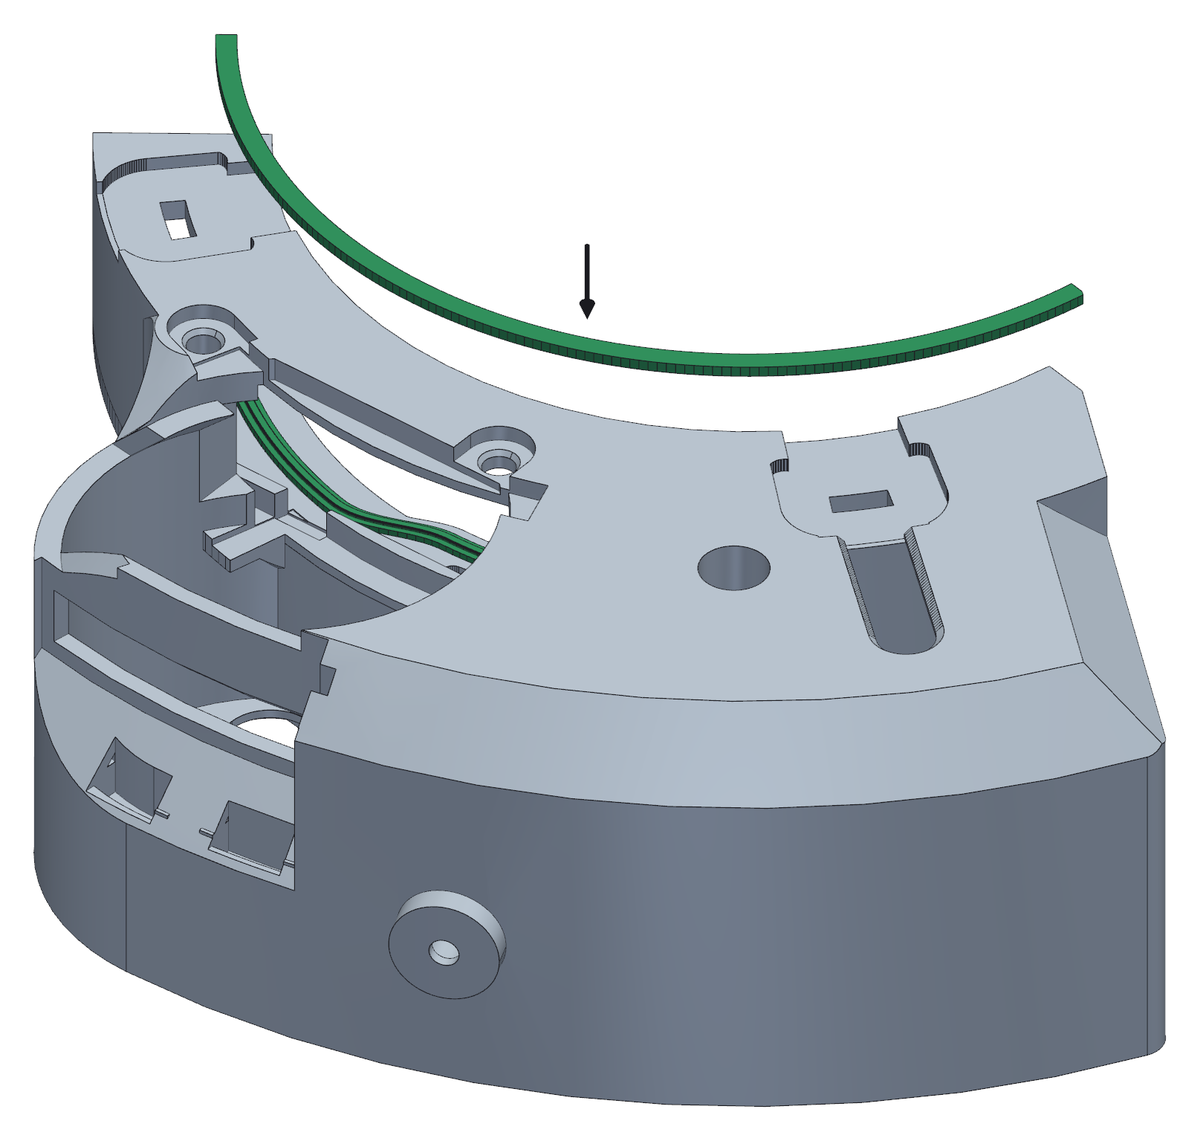
- Turn the collar over and do the same in the groove on the other face.
- Take more care over this one. On the camera side there are two barriers in series - this gasket and a labyrinth rib behind it - while on the telescope side the gasket is the only thing between the dust and your filters.
- Run a finger along both when you have finished: the lip should stand the same all the way round, with no section sitting proud where a button did not click home.